

Creating a job
A job is a discrete piece of work you run on a client — a filing package, a review, a mandamus. New job in the nav menu opens a guided wizard that walks you from “which client” to “create” without leaving anything out. By the end you have a job on the client’s file, priced, with a deadline, ready for your team to pick up.
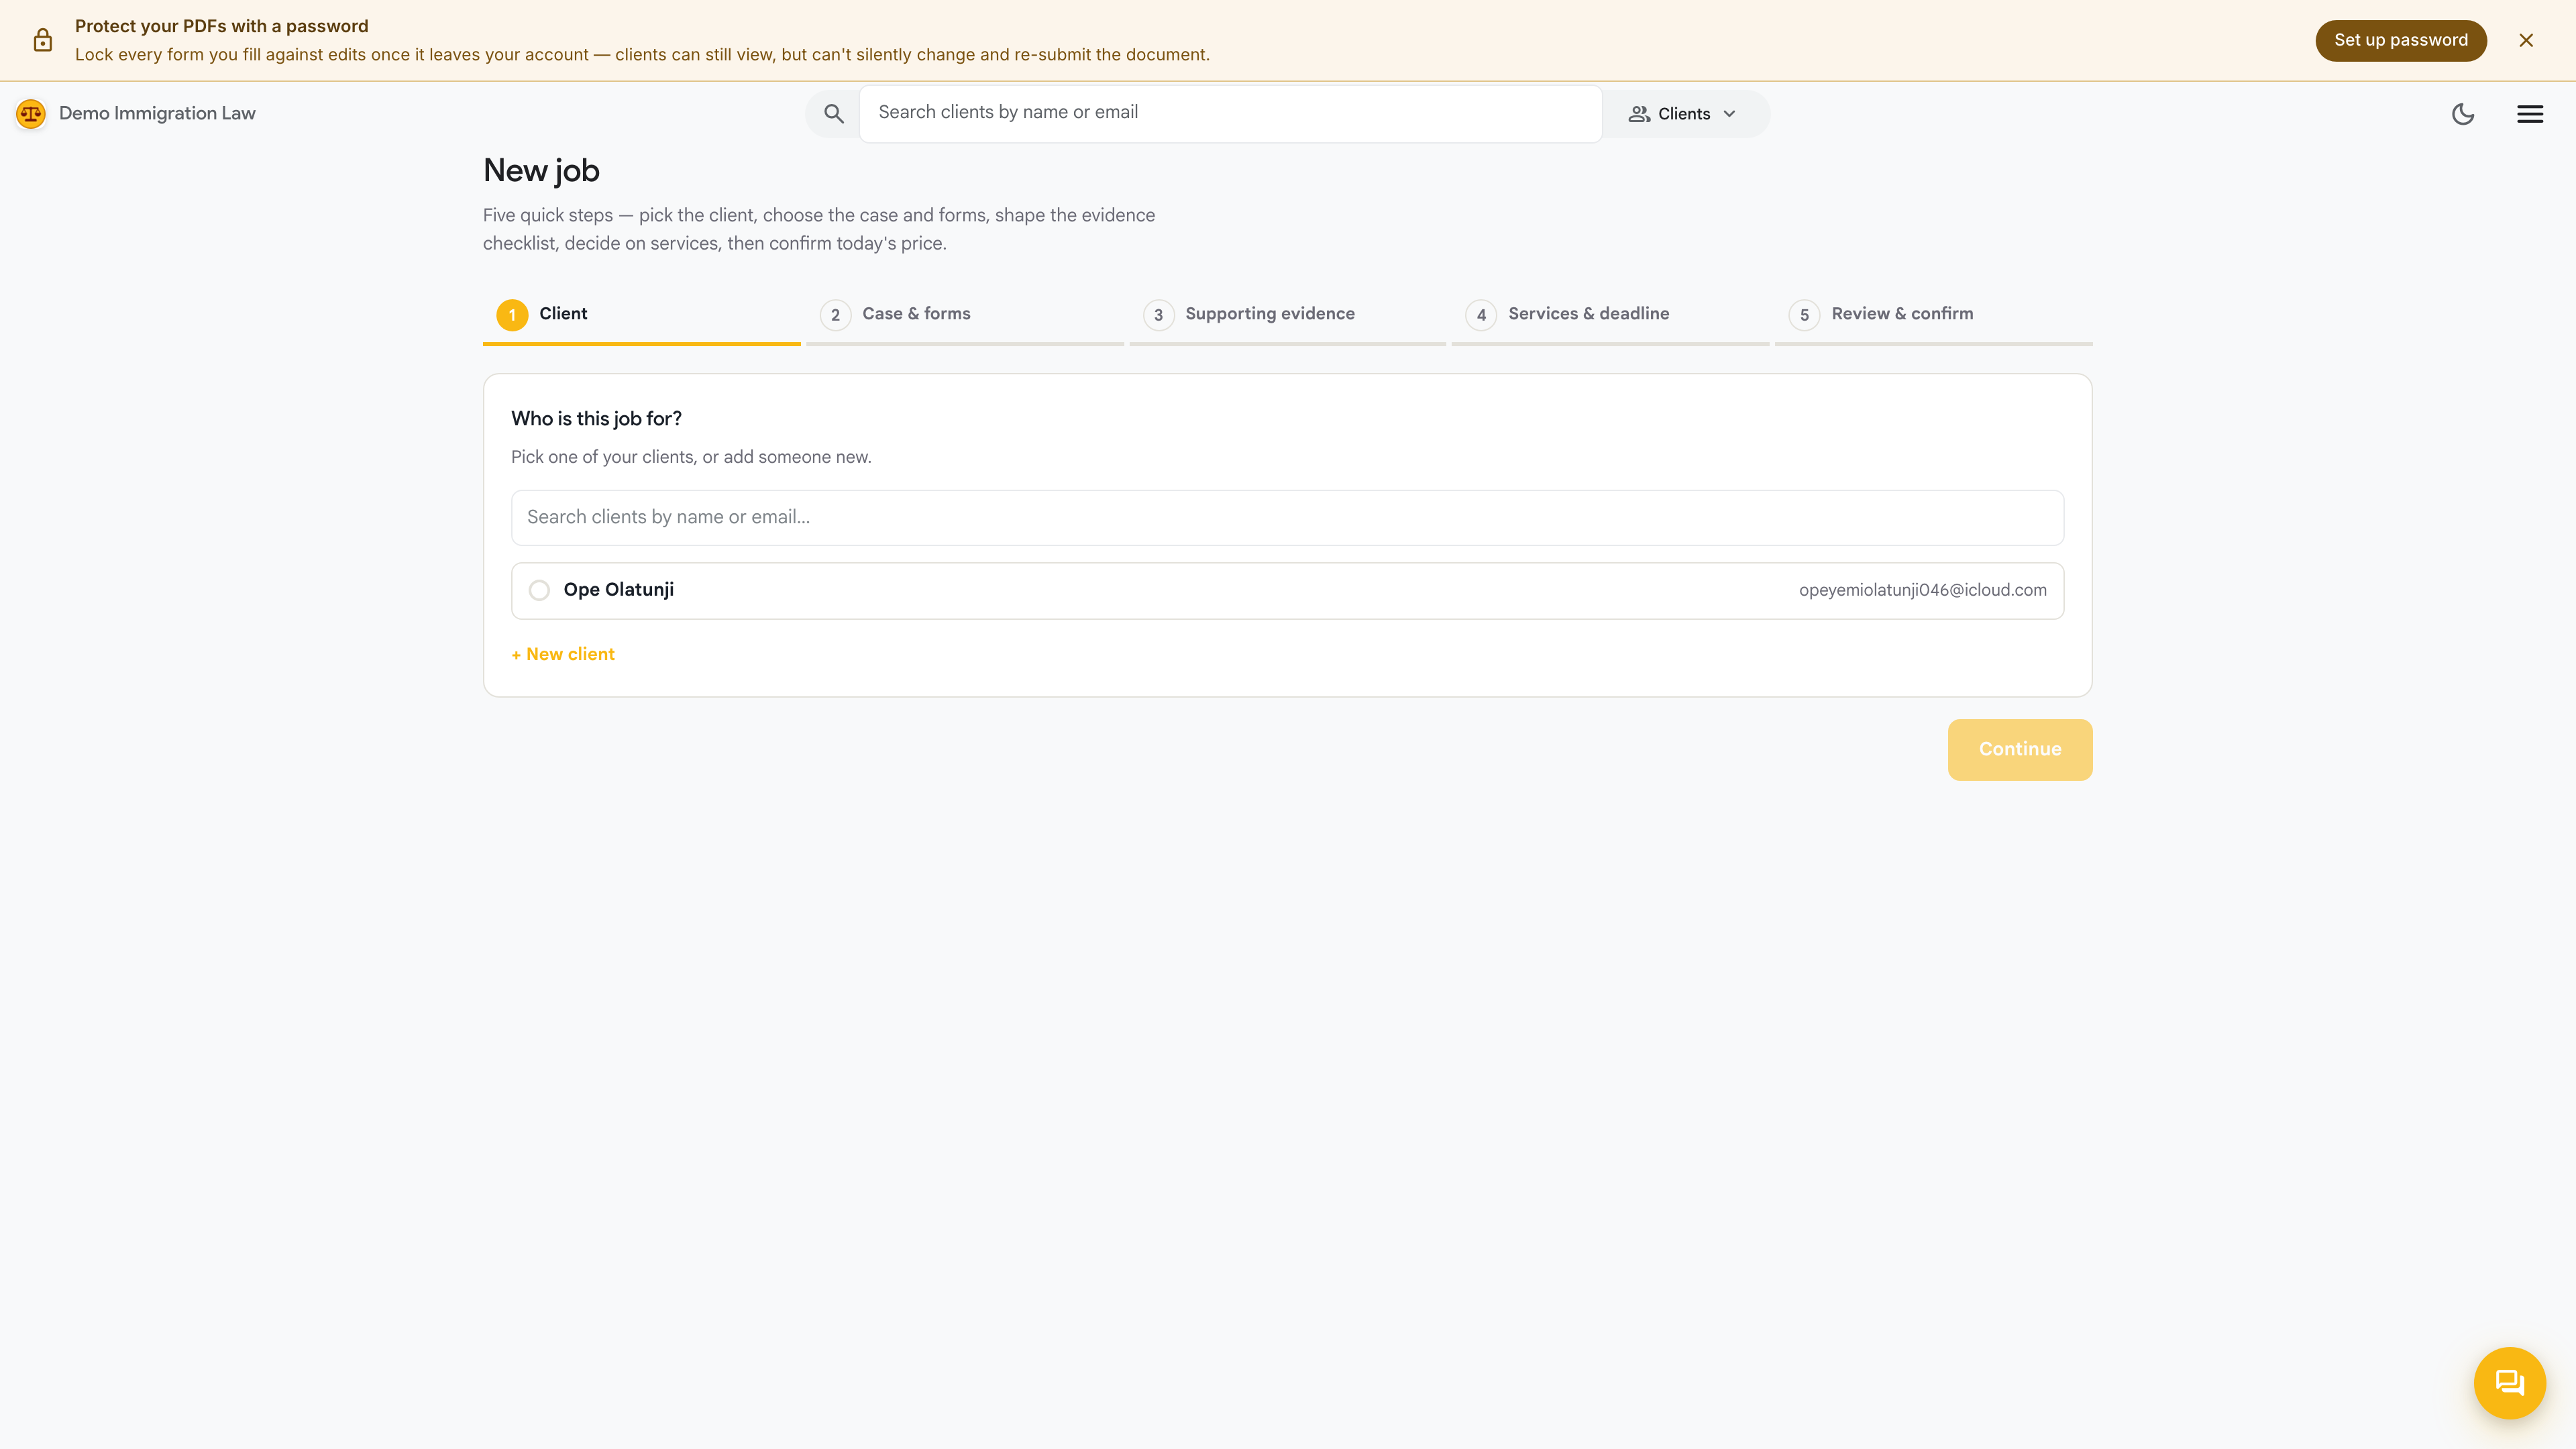
Before you start
Section titled “Before you start”Have the client in the system first. If they’re not there yet, use New client to add them — then come back and start the job. You can also launch the wizard from a client’s own page, which pre-picks them for you and skips the first step.
Walking the wizard
Section titled “Walking the wizard”-
Pick the client. Search by name and select the client this job is for. If you started from the client’s page, they’re already selected and the wizard opens on the next step.
-
Choose the case and forms. Tell the wizard what the matter is and add the forms the package needs. This is where you set what the job actually produces — the forms you select here become the case’s working set on the Case tab.
-
Set services and a deadline. Add the services this job should include and set the deadline you’re working to. Services are the billable work items on the job; the deadline drives how the job surfaces on My tasks and the Workflow dashboard.
-
Review and price. The last step lays out everything you picked — client, case, forms, services, deadline — with the price built from the services you selected. Read it over, then create the job.
After you create the job
Section titled “After you create the job”The job lands on the client’s file and enters the firm’s flow. From there:
- Work items route to the people who handle them and show up on their My tasks queue.
- The job appears on the Workflow dashboard so owners and admins can see it moving.
- You can open the job any time from the client’s Case tab to check status or adjust it.
Was this page helpful?
Thanks — noted.