

Case tab
A case is the named matter you’re running for a client — “marriage- based green card”, “naturalization”, “EB-2 NIW”, “asylum-based AOS”. It’s where the day-to-day filing work happens: the forms you fill, the evidence you gather, the signatures you collect, the deadlines you track. This tab absorbs a lot, so it’s organized into clear sections.
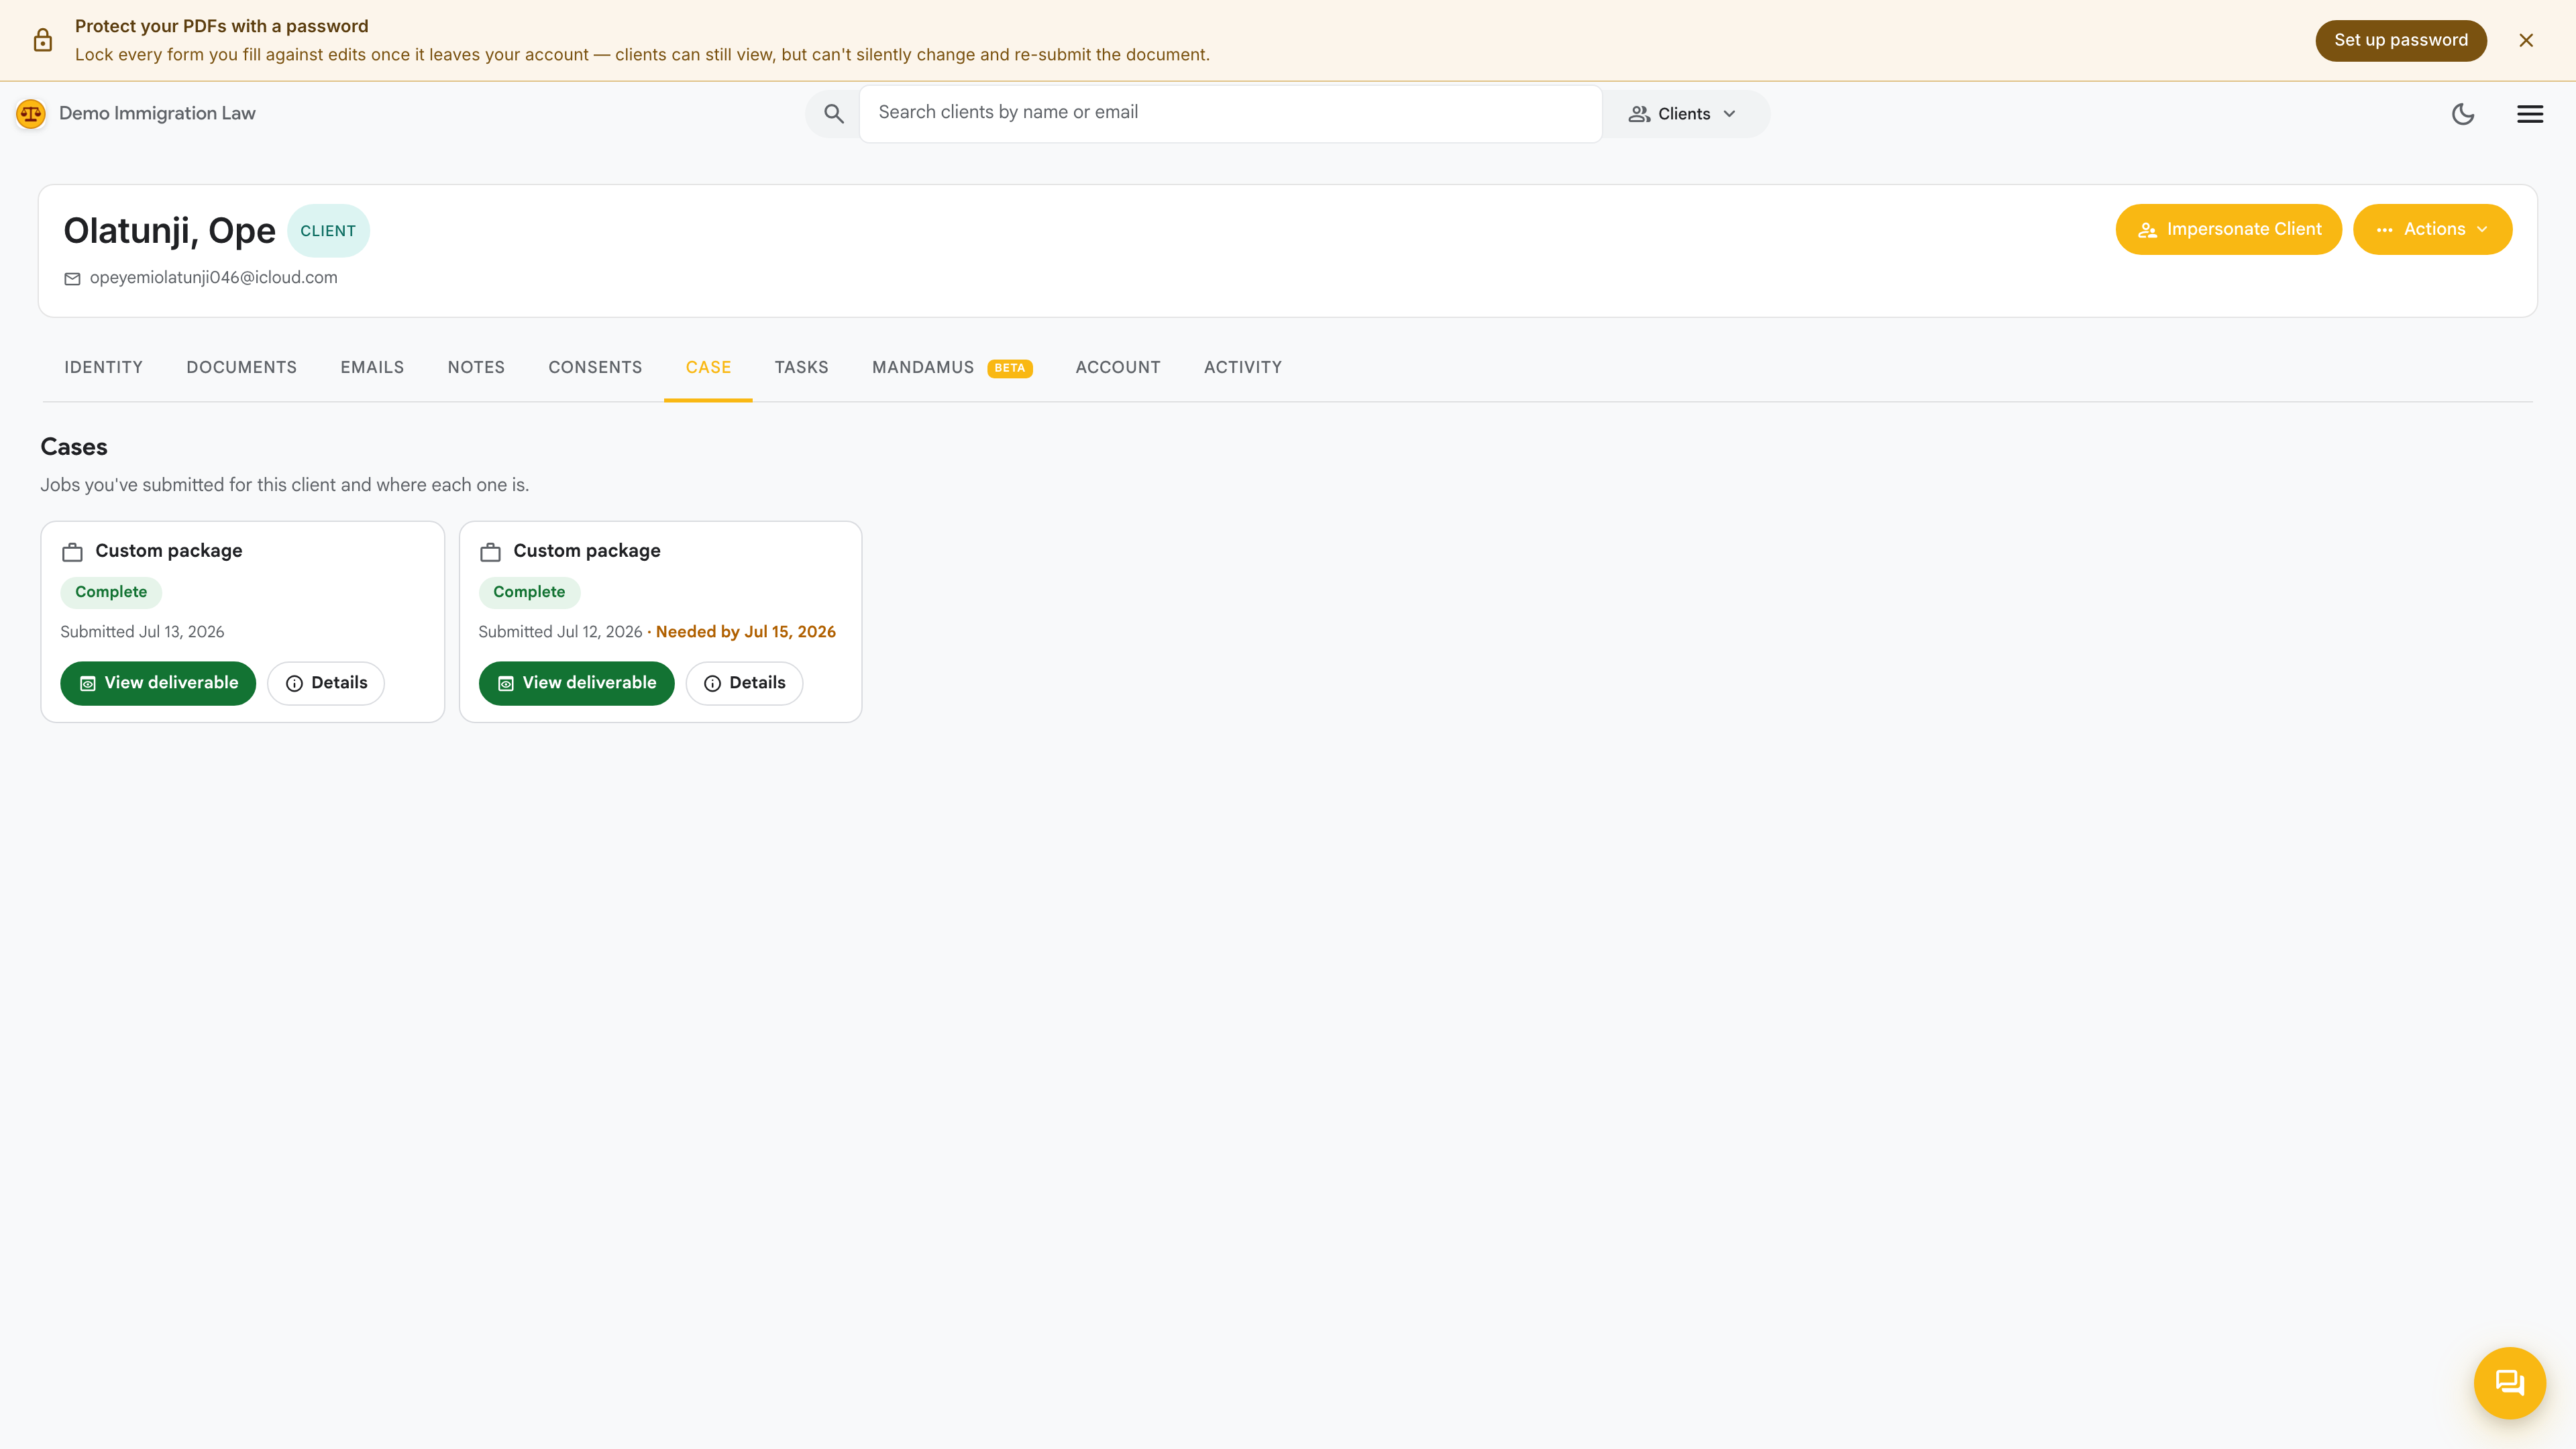
Creating a case
Section titled “Creating a case”Click New case and pick a case type. Each type seeds:
- A default checklist of expected forms (e.g. “Marriage-based AOS” pre-populates I-130, I-130A, I-485, I-864, I-765, I-131, I-693)
- Suggested evidence the client needs to produce
- Typical deadlines (e.g. biometrics within 90 days, EAD renewal 90 days before expiration)
You can edit any of these after creation. The defaults are starters, not handcuffs. A client can have several cases at once — open, closed, and future — all hanging off the same profile.
The case at a glance
Section titled “The case at a glance”Each case shows:
- Case name + type
- Status — Open / In progress / Filed / RFE / Approved / Denied / Withdrawn / Closed
- Attorney of record — the licensed attorney signing for the matter
- Forms checklist — how many forms are drafted vs filed vs receipted
- Next deadline — the soonest upcoming date, with a heads-up
- Last activity — what changed most recently
Deadlines & timeline
Section titled “Deadlines & timeline”The case carries its own timeline — a running record of milestones (intake completed, form drafted, packet mailed, receipt notice logged, biometrics scheduled). Deadlines you set generate reminders so nothing slips. Mark a deadline done and it stamps onto the timeline.
Evidence
Section titled “Evidence”The evidence section tracks the supporting documents the case needs against what the client has actually produced. Each expected item shows as outstanding or received; received items link straight to the file in the Documents vault. Use it as a checklist before you assemble the packet.
Form fill & filings
Section titled “Form fill & filings”This is where you prepare the actual USCIS, EOIR, or DOL forms for the matter.
- Start a form. Pick a form from the case checklist and the fill flow opens with this client already selected. Fields draw from the client’s Identity record, so a well-kept Identity tab means most of the form fills itself.
- Review the draft. Walk the draft to confirm every field. Drafts render with a watermark until you finalize.
- Finalize. A finalized form is a clean, unwatermarked PDF. It saves to the Documents vault under “Forms” and marks that item filed-ready on the checklist.
- Filing history. The case keeps the service history for each form — which version was filed, when, and the receipt number once you log the notice.
E-signature
Section titled “E-signature”Once forms are finalized, collect the client’s signature without printing, signing, scanning, and re-uploading.
- Pick the forms. Select one or more finalized form PDFs. The real PDF is signed, not a watermarked preview.
- Send the request. A one-time signing link is generated and either copied to your clipboard or emailed to the client through your firm’s signature-request template.
- The client signs once. They page through the exact PDF they’re about to sign and draw their signature on a single canvas.
- Every field is stamped. The signature is read into each PDF’s own signature widgets and dropped onto every one of them — across all forms in the request at once. The client never signs form-by-form.
Because the signature lands in the form’s own widgets, it sits exactly where USCIS expects it — the right line, the right page, sized to the field — and any paired date field fills too.
Multi-party signing
Section titled “Multi-party signing”Some forms need more than one signer — an I-864 is signed by the sponsor, a translator certificate by the translator. Add each party to the request: each gets their own one-time link and signs only the fields for their role, and the request isn’t complete until everyone has signed. You can watch each party’s status and resend an individual link without disturbing the others.
Where signed copies land
Section titled “Where signed copies land”When a request completes, results save to the Documents vault:
- Each form as its own signed copy — one signed PDF per form, so you can file each individually.
- A merged print copy — the whole signed packet stacked into one PDF, ready for mail filing.
Three Attorney Level Intelligence Review
Section titled “Three Attorney Level Intelligence Review”Before you file, run the case’s most recent draft through the pre-filing review. It checks the packet against a large set of RFE triggers and returns a report of each likely RFE category with what to add to prevent it. Treat it as a last set of eyes, not a substitute for attorney judgment.
Interview prep
Section titled “Interview prep”For matters headed to a USCIS interview, the interview-prep section assembles a practice sheet from the case record — the likely questions for this filing type, the client’s own answers to walk through, and the documents to bring. Use it to run the client through a mock interview before the real one.
The fees section shows the government filing fees for the forms in the case, so you can tell the client what USCIS will charge and confirm the right amount goes with the packet. These are the government’s fees for the filing — separate from what your firm bills the client for its work.
Closing a case
Section titled “Closing a case”When USCIS approves, denies, or you withdraw, click Mark closed, record the outcome and an optional note. Closing moves the case to the collapsed Closed section and stops deadline reminders, but preserves everything — reopen any time for an RFE response or appeal.
Was this page helpful?
Thanks — noted.