

Building your team
Today’s goal: get every person in your firm into the workspace with the right level of access. Plan on about ten minutes — most of it typing email addresses.
My Org Members
Section titled “My Org Members”Open Administrative → My Org Members from the nav menu.
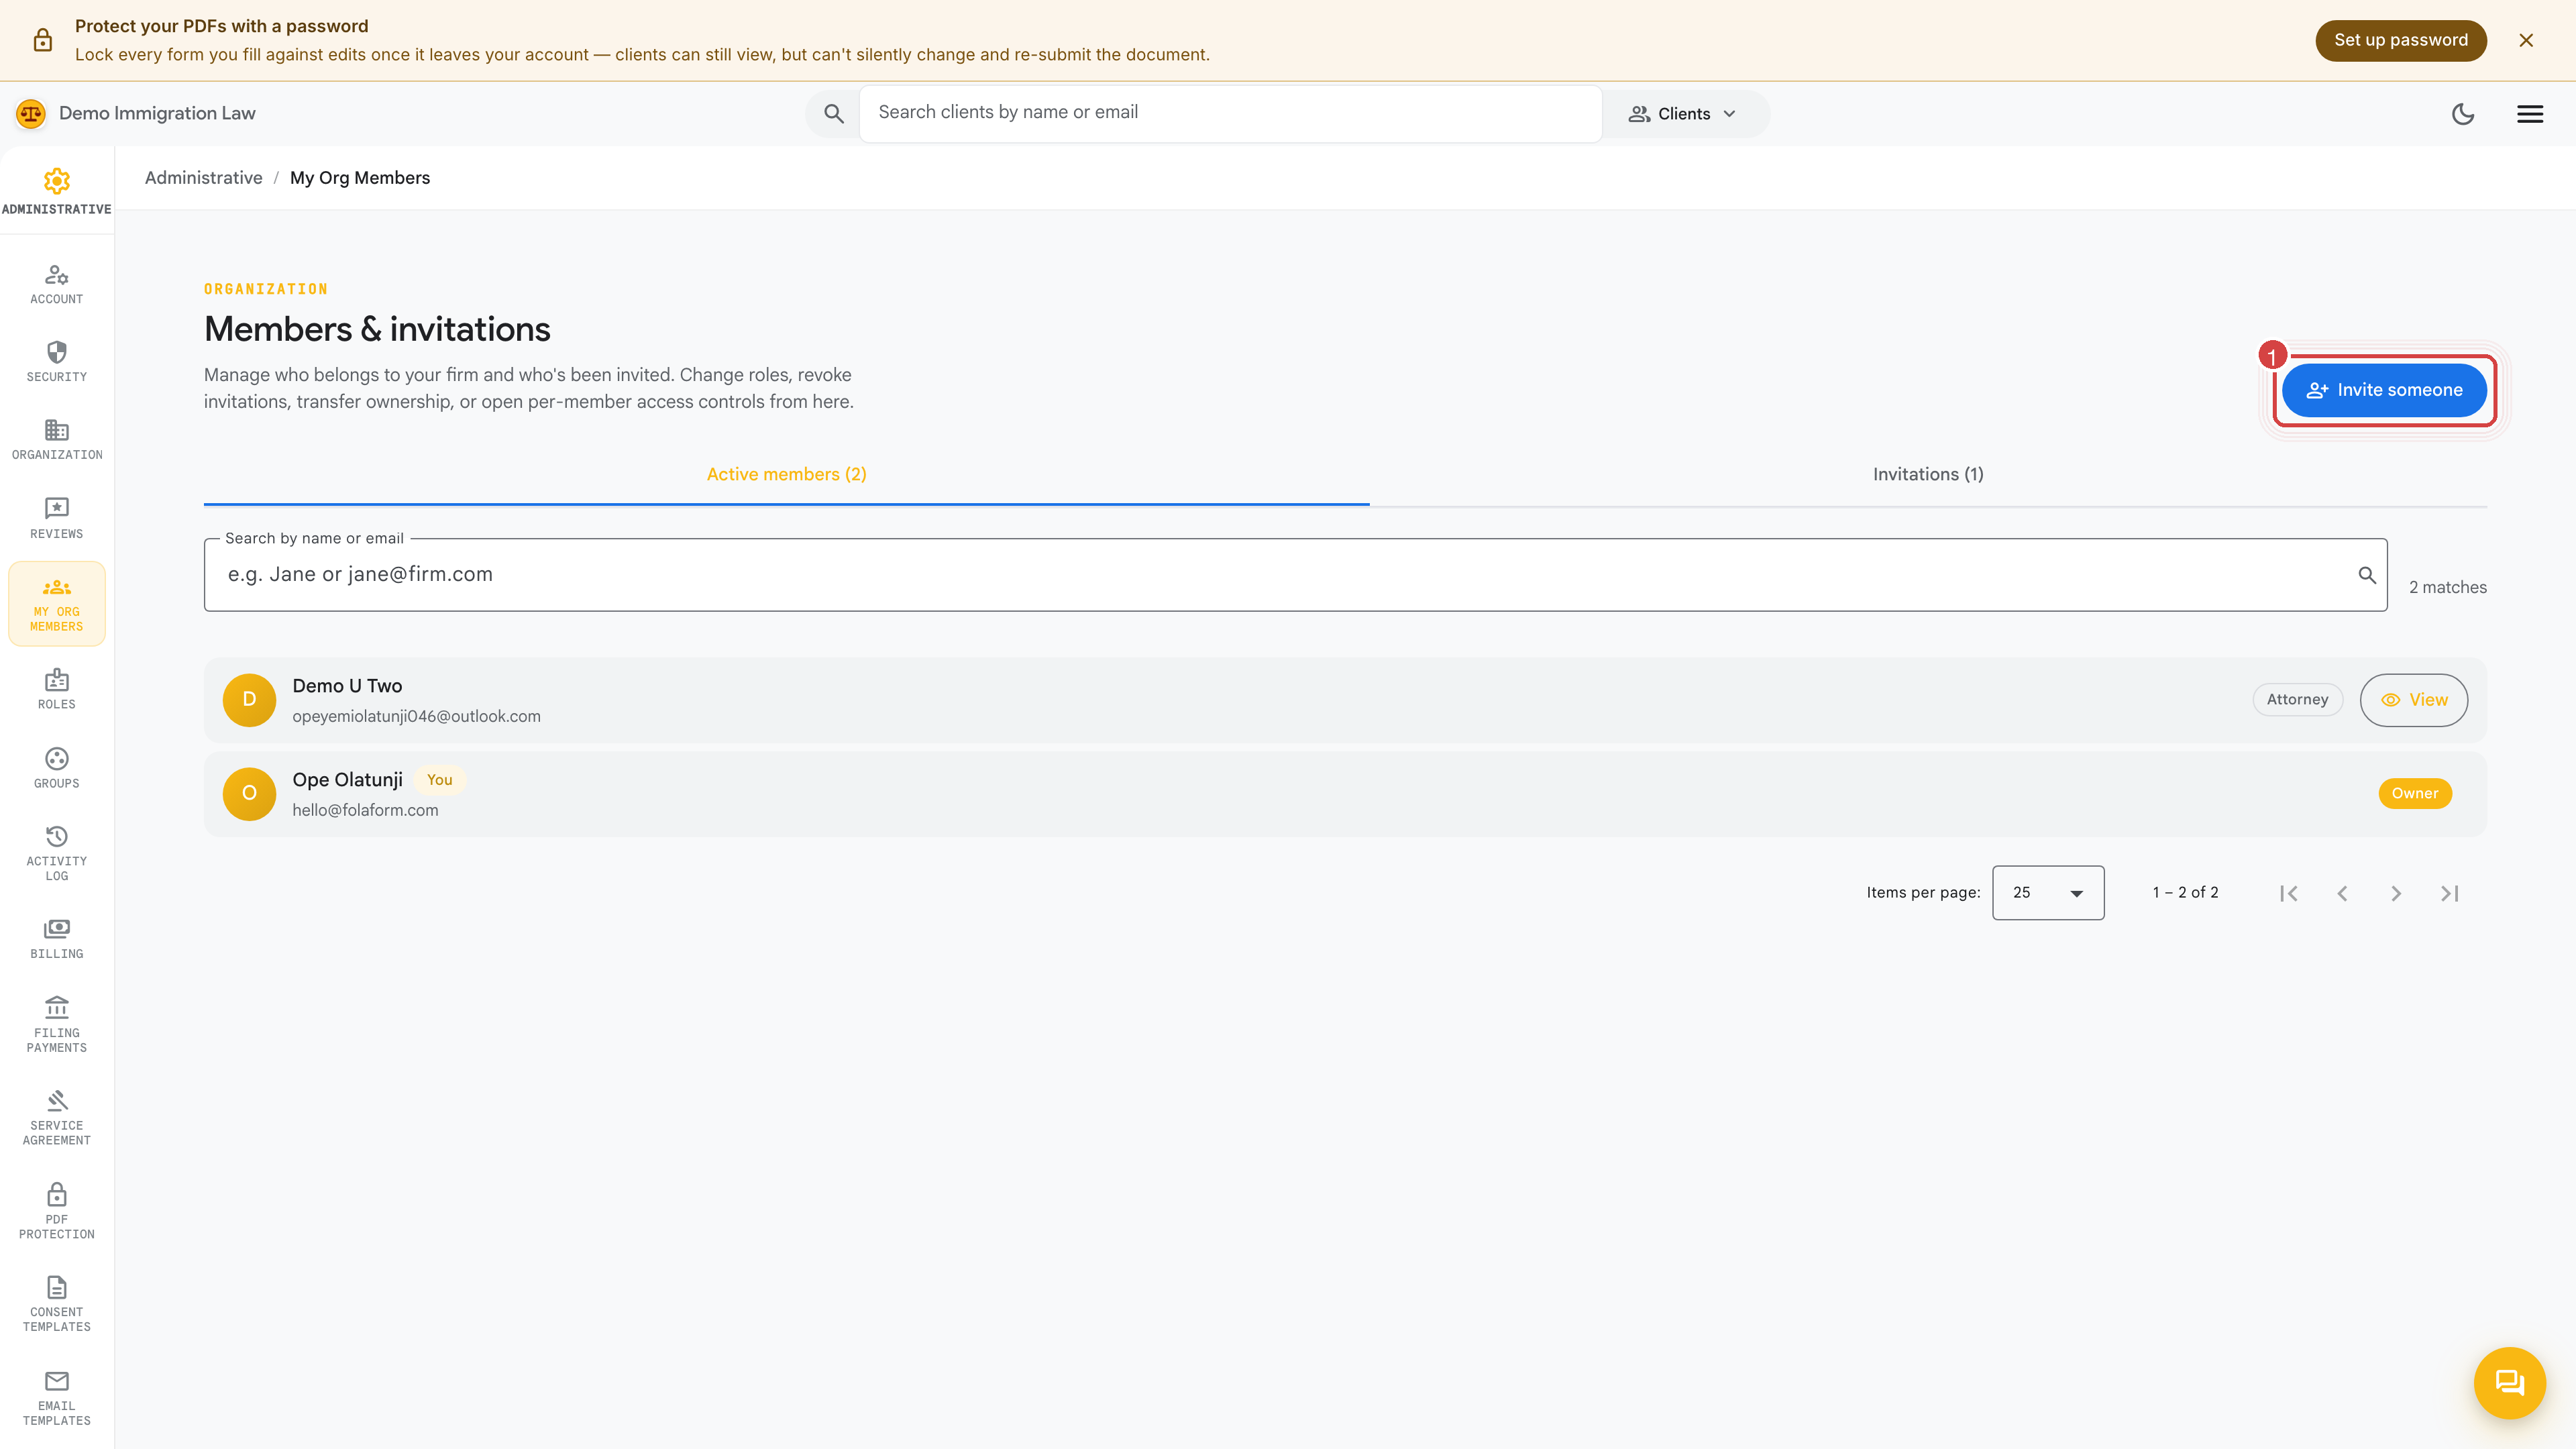
You’ll see the current roster (right now, likely just you) and a button to invite new members. Click Invite and you’ll be asked for:
- Email address — where the invitation goes.
- Role — see the section below.
- An optional welcome note that appears in the invitation email.
The magic-link invite
Section titled “The magic-link invite”Fola sends each invitee a magic link — a one-time sign-in link to their email. They click it, set up their account, and land on their own personal workspace. No shared passwords, no manual account creation on your side.
Choosing a role
Section titled “Choosing a role”Each person gets a role that sets what they can do — manage cases, prepare filings, administer the firm, or read-only. Pick the role that matches the person’s job:
- Give attorneys the role that lets them manage and sign cases.
- Give paralegals and assistants a preparer-level role.
- Give office managers and operations leads an admin role.
- Give auditors or accountants a read-only role.
Managing roles
Section titled “Managing roles”The full catalog of roles — what each one can do and how they’re scoped — lives under Administrative → Roles. That’s where you review the available roles and adjust a person’s access if their responsibilities change. For most firms the built-in roles cover every common split (this attorney handles family-based, that one handles employment) without any custom configuration.
After someone accepts
Section titled “After someone accepts”Once an invitee clicks their magic link and sets up their account, they land on their own personal workspace — the same one you saw in Orientation. They’re added to your firm under the role you picked and can pick up tasks right away.
You can review and adjust anyone’s role at any time from Administrative → My Org Members or Administrative → Roles.
What’s next
Section titled “What’s next”Your team is in. Next, add your first client and walk through the Identity record.
Was this page helpful?
Thanks — noted.